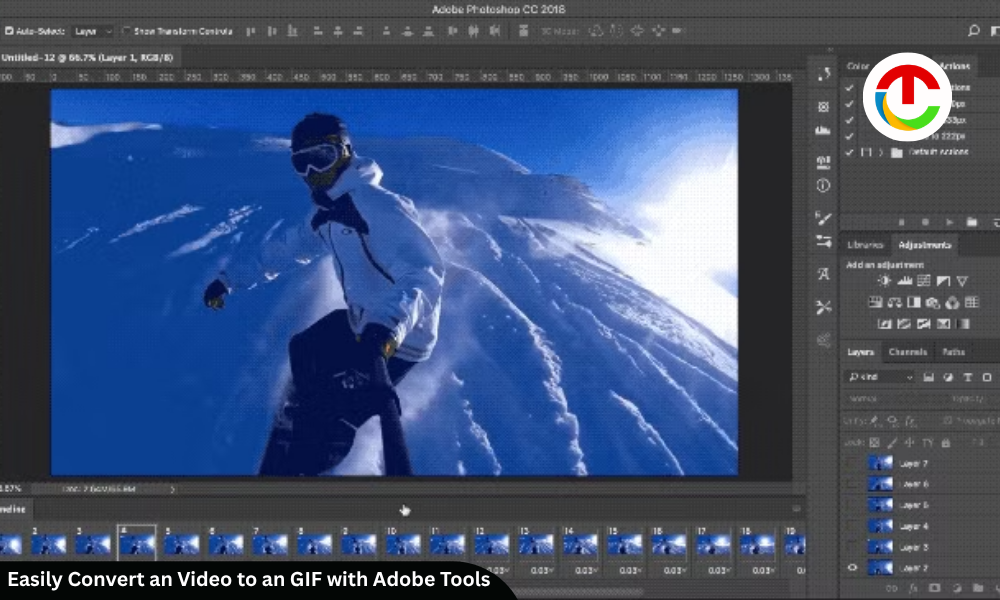
In today’s fast-paced digital world, short looping animations capture attention more effectively than lengthy videos. GIFs have become a staple for social media, presentations, websites, and messaging apps because they load quickly, play automatically, and convey emotion or information in a compact format. Many people search for ways to easily convert an video to an GIF without complicated processes. Adobe offers professional-grade solutions that make this transformation straightforward and high-quality. Whether you work with Adobe Premiere Pro, Adobe Photoshop, or Adobe Express, the process remains accessible even for beginners who want reliable results.
Understanding the Value of Video-to-GIF Conversion
Videos often contain rich motion and detail, yet they can feel heavy for certain uses. A GIF extracts the most engaging moments and turns them into a continuous loop. Adobe’s ecosystem supports this need by providing precise control over frame rates, duration, color, and file size. Users who choose Adobe tools benefit from consistent quality, seamless integration between applications, and professional export options. The ability to easily convert an video to an GIF becomes especially useful for marketers creating shareable content, educators illustrating concepts, or creatives adding flair to their portfolios.
Adobe Premiere Pro stands out for timeline-based editing. You import your video clip, trim it to the exact segment you want to loop, and adjust the frame rate so the final GIF remains smooth. Lower frame rates help keep file sizes manageable while still preserving the essential motion. After preparing the sequence, you can export it in a format ready for GIF conversion or move the sequence into Adobe Photoshop for final optimization. This workflow keeps everything inside the Adobe family, ensuring color accuracy and timing stay consistent.
Step-by-Step Process Using Adobe Premiere Pro and Photoshop
Begin by launching Adobe Premiere Pro and creating a new project. Import the source video file through the media browser. Drag the clip onto the timeline and use the razor tool or in-and-out points to isolate the portion that will become the GIF. Keep the duration short—ideally under ten seconds—so the resulting file remains practical. Adjust the sequence settings if needed to match a standard frame rate such as 12 or 15 frames per second, which balances smoothness and size.
Once the edit is complete, export the sequence as a high-quality video file or use Adobe Media Encoder for further control. From there, open Adobe Photoshop. Go to File > Import > Video Frames to Layers. Select the prepared clip and choose a frame range if you want to limit the number of frames. Photoshop converts each selected frame into a separate layer. You can then fine-tune individual frames, remove unnecessary ones, or adjust timing in the Timeline panel. Set the looping option to Forever so the GIF repeats continuously.
When the animation looks right, choose File > Export > Save for Web (Legacy). In the dialog box, select GIF as the format. Optimize the color palette, dithering, and lossy compression to achieve a balance between visual quality and file size. Preview the animation directly in the window before saving. This method allows you to easily convert an video to an GIF while retaining creative control over every aspect of the final output.
Adobe Express offers an even simpler path for users who prefer a streamlined interface. Upload the video, select the desired section, apply any basic adjustments, and export directly as a GIF. The platform handles much of the technical optimization automatically, making it ideal for quick social media assets or internal communications.
Optimization Tips Inside the Adobe Ecosystem
File size remains a critical consideration. Large GIFs can slow page loading or exceed platform limits. Within Adobe Photoshop’s Save for Web dialog, reduce the number of colors, increase lossy compression slightly, or crop the canvas to remove unused space. Adobe Premiere Pro users can pre-scale the sequence to a smaller resolution before export, which further reduces the final GIF dimensions.
Color management also matters. Adobe’s consistent color profiles help prevent unexpected shifts when the GIF moves between applications or devices. If the original video contains complex motion or fine details, slightly lowering the frame rate or applying a gentle blur in Premiere Pro can produce cleaner results after conversion.
Timing control is another strength of Adobe tools. In Photoshop’s Timeline, you can assign different durations to individual frames, creating pause effects or emphasizing key moments. This level of precision is difficult to achieve outside a professional suite and contributes to more engaging final GIFs.
Practical Applications and Creative Possibilities
Professionals use these Adobe workflows for product demonstrations, tutorial highlights, brand storytelling, and reaction clips. A short product reveal becomes a looping GIF that shows the item from multiple angles. A complex software process can be simplified into a few repeating frames that guide viewers without requiring them to watch a full video. Because the process stays inside Adobe applications, teams can maintain brand colors, fonts, and visual standards throughout.
The same tools support experimentation. You can overlay text, add simple effects, or combine multiple clips before converting. Adobe After Effects users sometimes prepare advanced motion graphics sequences and then bring them into Photoshop for the final GIF export, expanding creative possibilities while remaining within the Adobe environment.
Conclusion
Learning how to easily convert an video to an GIF using Adobe software opens new opportunities for efficient, high-quality content creation. From the detailed timeline controls in Adobe Premiere Pro to the frame-by-frame precision of Adobe Photoshop and the rapid workflow of Adobe Express, the process remains flexible enough for both casual users and professionals. By focusing on short, purposeful clips, optimizing frame rates and colors, and leveraging Adobe’s integrated tools, anyone can produce polished GIFs that capture attention and communicate clearly. The next time you need a looping visual that stands out, turn to Adobe and transform your video footage into a compelling, shareable GIF with confidence and control.
Also Read :- What Business Leaders Get Wrong About Corporate Video & How to Fix It